
This blog was authored by Brandon Stultz
Microsoft released fixes for several critical vulnerabilities in Exchange Server earlier this month. One of these vulnerabilities (CVE-2021-26855) — aka "ProxyLogon" — is especially dangerous. ProxyLogon is a server-side request forgery (SSRF) vulnerability in Exchange that allows an attacker to bypass authentication with just a valid email address. After bypassing authentication, the attacker often exploits an arbitrary file write vulnerability (CVE-2021-27065) to write a JScript web shell on the Exchange server. Once the web shell has been deployed, the attacker has full control over the server.
Cisco Talos has released coverage for the vulnerabilities mentioned above, as well as coverage for web shells observed on compromised Exchange servers in the wild. Like BlueKeep, DejaBlue, and so many other server vulnerabilities, defending against ProxyLogon attacks requires SSL decryption. So, we've created a guide on how to set up SSL decryption on Cisco Secure IPS (NGIPS) to defend against encrypted ProxyLogon attacks.
For more information on the vulnerabilities mentioned above and how to apply the fixes Microsoft has released, please visit the links below:
What follows is a step-by-step guide for decryption and inline inspection of Microsoft Exchange Traffic. This procedure requires an inline Firepower IPS device that supports SSL decryption. For more information visit Cisco's page on Cisco Secure's Next-Generation Intrusion Prevention System (NGIPS).
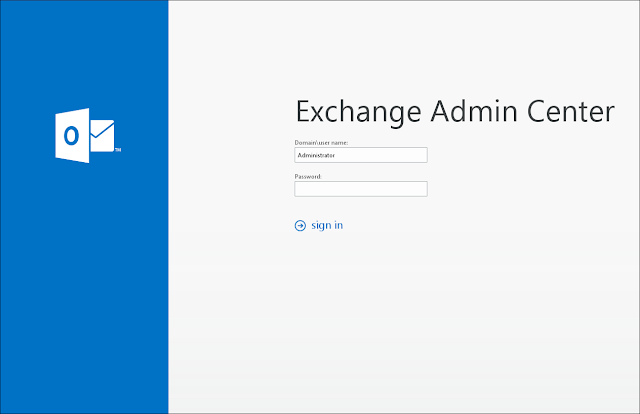
1. Determine the certificate used by Exchange. Login to the Exchange Admin Center:
2. Select servers -> certificates:
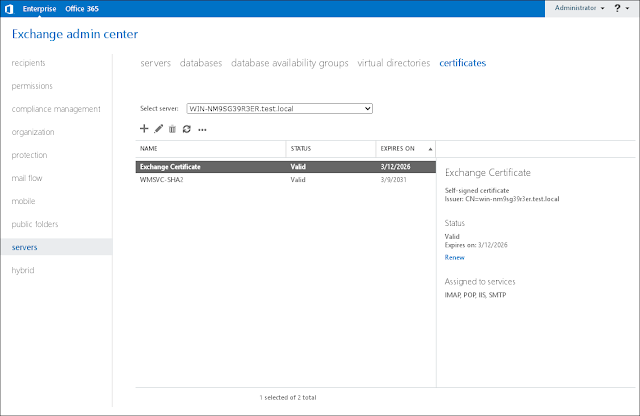
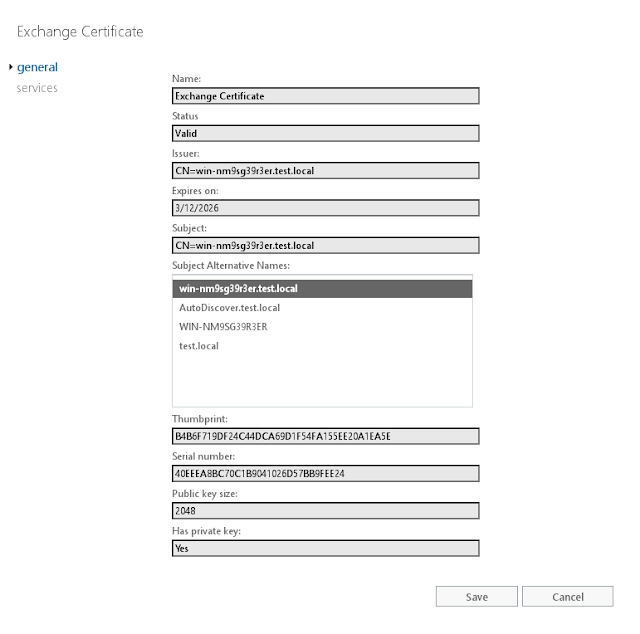
3. Select the certificate assigned to Exchange services and then click "edit." Note the certificate thumbprint:
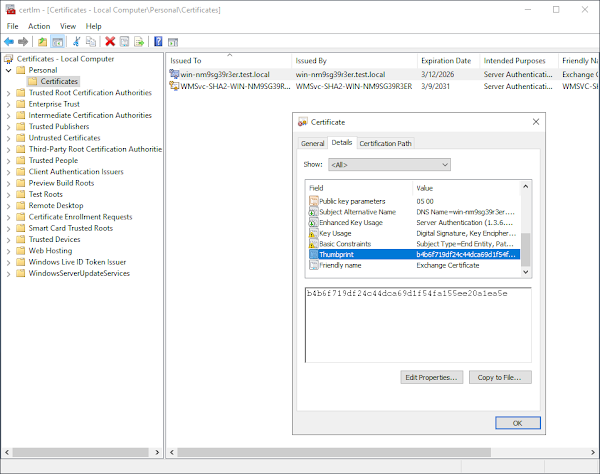
4. Run "certlm.msc" on the Exchange server:
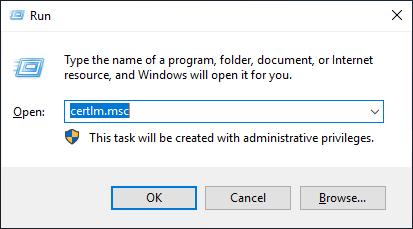
5. Locate the certificate that matches the thumbprint in the Exchange Admin Center:
6. Right click on the certificate and select All Tasks -> Export...

7. Click "Next:"
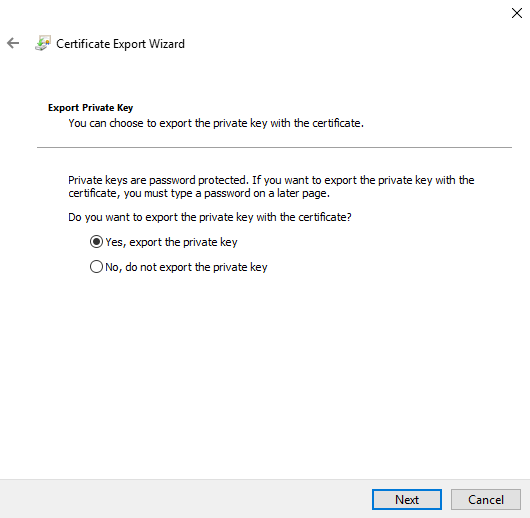
8. Click "Yes, export the private key" and then click "Next:"
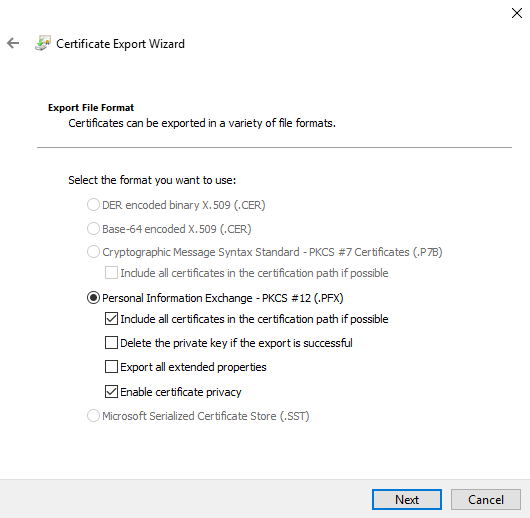
9. Make sure PKCS is selected and then click "Next:"
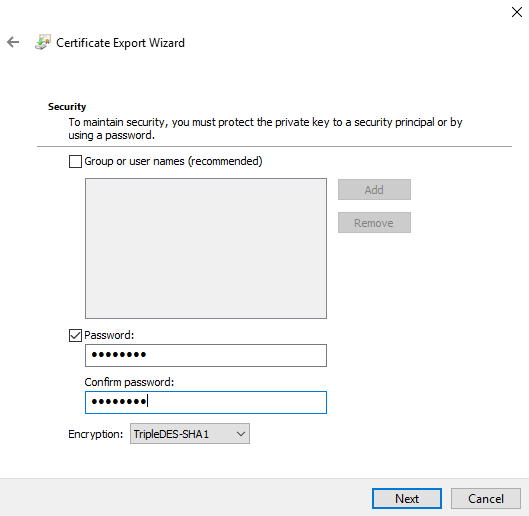
10. Enter a password to encrypt the private key and then click "Next:"
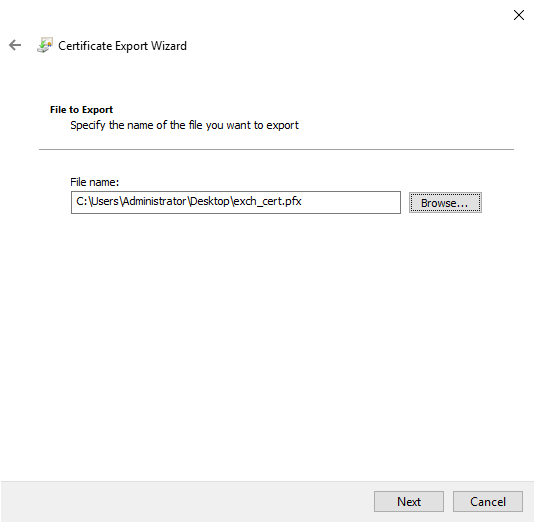
11. Enter a filename for the PFX file and then click "Next:"
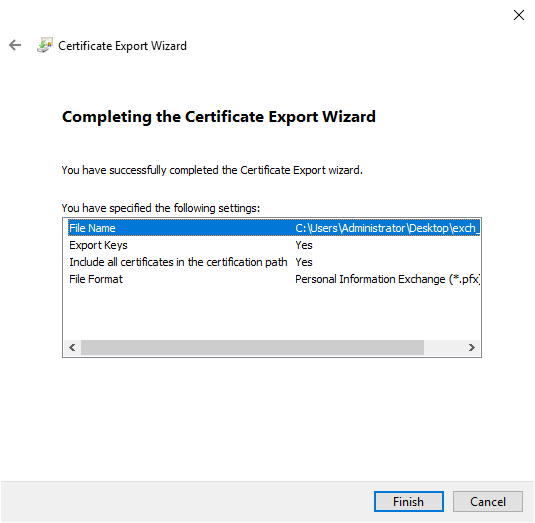
12. Finally, click "Finish."
You have successfully exported the Exchange certificate and private key. We will now move on to configuring Windows Server ciphersuites for Cisco Firepower Management System.
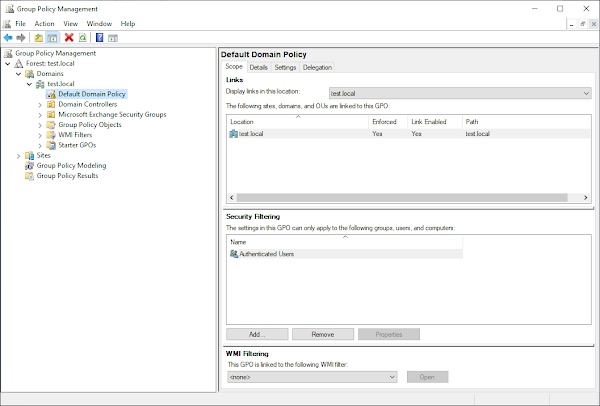
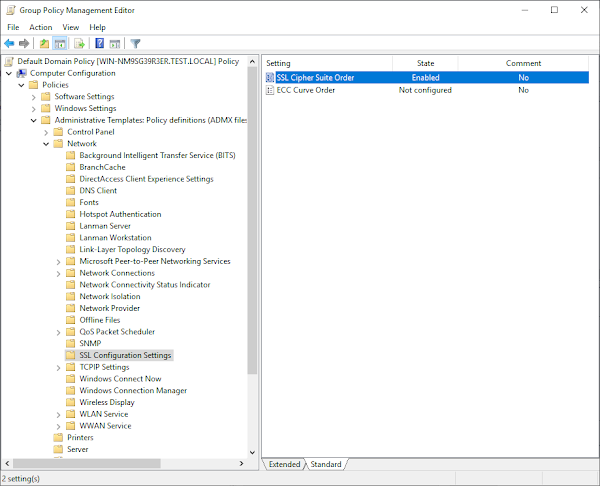
13. Open group policy management:
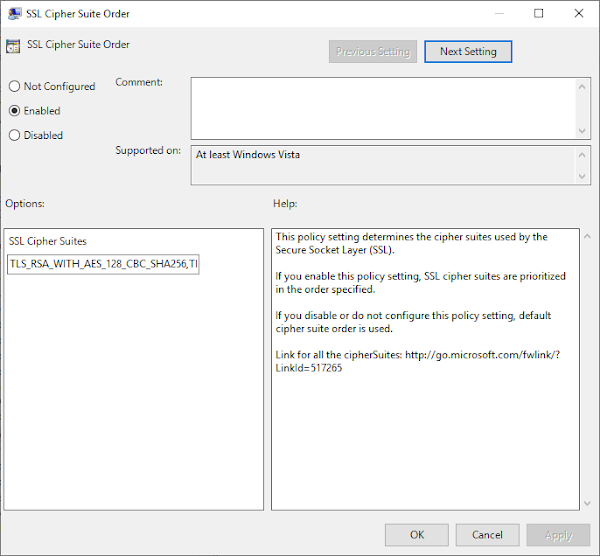
14. Open the Default Domain Policy -> Administrative Templates -> Network -> SSL Configuration Settings and then double-click on SSL Cipher Suite Order:
15. Set the option to "Enabled" and paste in a set of Ciphersuites that Firepower supports for static key decryption:
TLS_RSA_WITH_AES_128_CBC_SHA256,TLS_RSA_WITH_AES_128_CBC_SHA,TLS_RSA_WITH_AES_256_CBC_SHA256,TLS_RSA_WITH_AES_256_CBC_SHA,TLS_RSA_WITH_RC4_128_SHA,TLS_RSA_WITH_3DES_EDE_CBC_SHAThen click "OK:"
The Exchange Server is now set up for SSL inspection. We will now move on to preparing the SSL certificate and key for Firepower.
16. Prepare the certificate and private key for Firepower:
For this step you will need the OpenSSL tool and the PFX file exported above (exch_cert.pfx in this example). Extract the certificate from the PFX file:
$ openssl pkcs12 -in exch_cert.pfx -clcerts -nokeys -out cert.pem
Enter Import Password:
The command above will ask for the import password. This is the password we entered before.
Extract the private key from the PFX file:
$ openssl pkcs12 -in exch_cert.pfx -nocerts -out key.pem
Enter Import Password:
Enter PEM pass phrase:
Verifying - Enter PEM pass phrase:
The command above will ask for the import password again and a PEM passphrase. Remember this private key passphrase, we will need it when we add the Exchange certificate to Firepower.
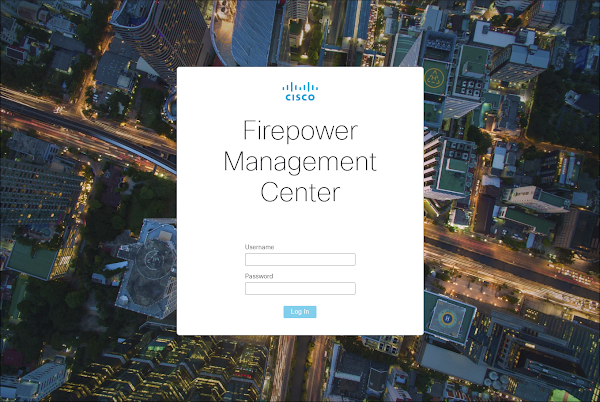
17. Login to the Firepower Management Center:
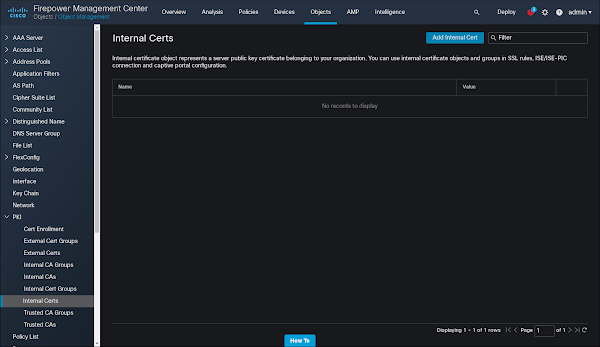
18. Navigate to Objects -> Object Management -> PKI -> Internal Certs. Select "Add Internal Cert:"
19. Paste in the certificate and the encrypted private key we prepared above. Click "Encrypted" and type in the import password we prepared above. Click "Save."
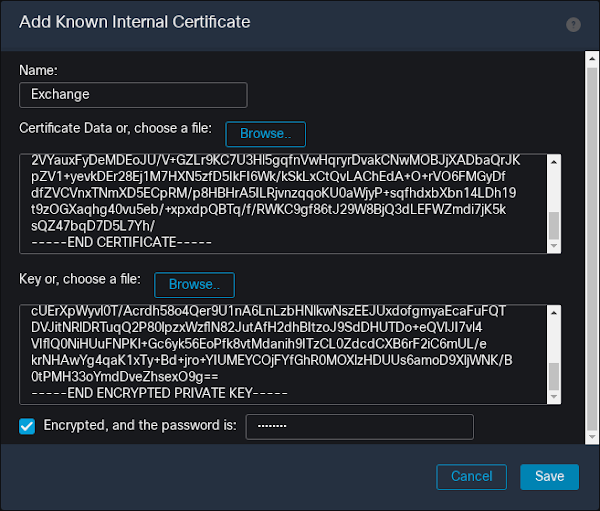
You have now successfully imported the Exchange certificate and private key into Firepower. Now we will prepare the policies for the sensor.
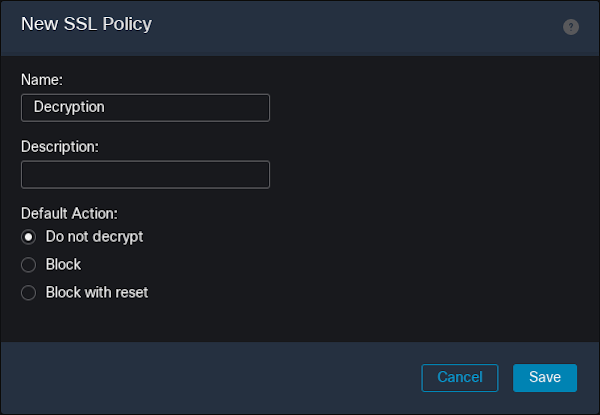
20. Navigate to Policies -> SSL -> New Policy. Give the SSL policy a name and then click "Save."
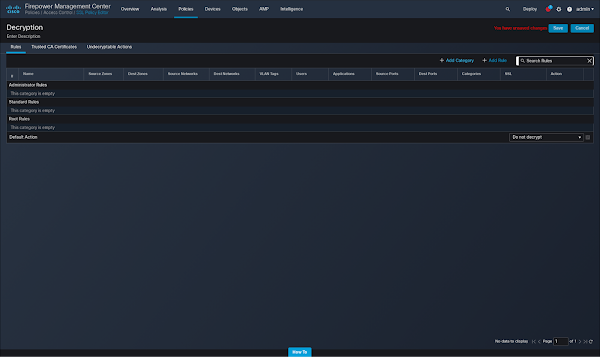
21. Select "Add Rule:"
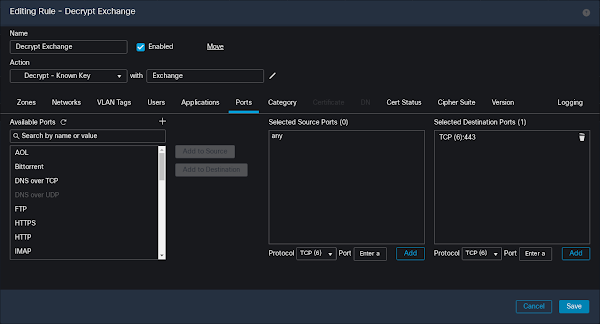
22. Name the rule, select action "Decrypt - Known Key" with the key we imported above. Select "Ports" and enter port 443 in the destination ports. Click "Save."
23. Navigate to Policies -> Access Control and edit the relevant Access Control Policy. Click "Advanced:"
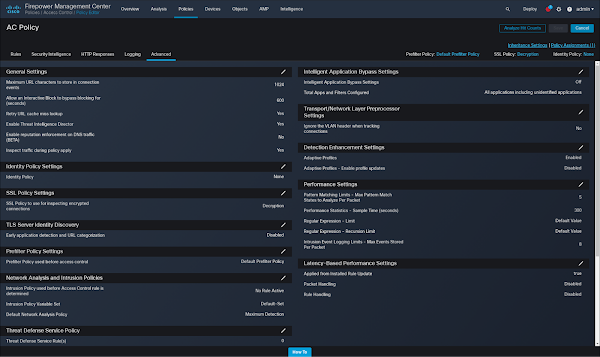
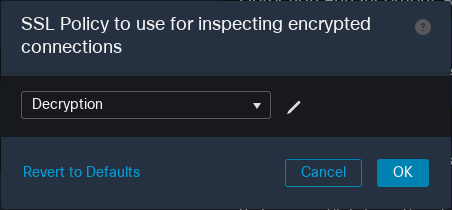
24. Set our SSL Policy to the one we prepared earlier:
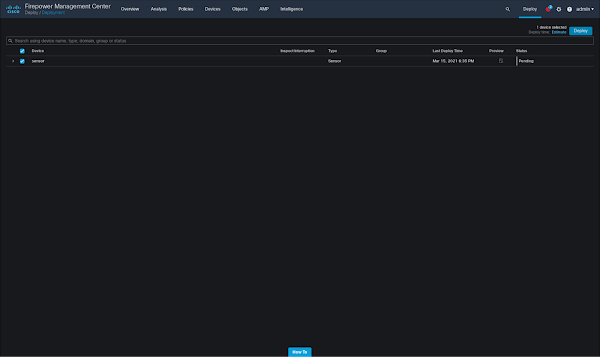
25. Save and deploy changes:
26. Finally, verify connectivity to Exchange. You have now successfully completed setup of inline decryption and inspection of Exchange traffic.
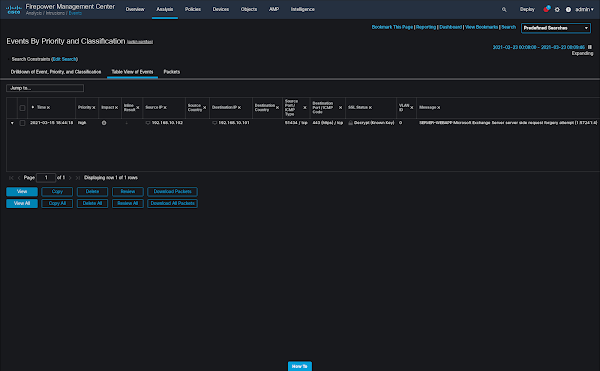
If a ProxyLogon exploit is sent to your Exchange server, Firepower will now detect it within the encrypted traffic and block it:
We hope you found this guide useful. Defending against these vulnerabilities is critical and should be considered high priority.